Connect to Spotify API with Alteryx
The authentication process for Spotify API is a bit tricky. I thought I’d make your life easier so that you could start using this API yourself!
First published on The Information Lab Blog.
With the recent Iron Viz feeder focused around the topic of music, many people have started looking into Spotify API, including myself. I actually did use data from Spotify API for my Iron Viz entry. The authentication process is a bit tricky and so I thought I'd make your life easier so that you could start using this API yourself!
Disclaimer
This solution uses Client Credentials Flow and allows you to connect to Spotify API data but not the user information. This means, you can't use this authorization method to connect to Users Profile, Personalization, Player and other end points that are based on user data. You can still search/access artist, album, track, etc. information.
Get Client ID and Client Secret
- Create a Spotify user account (it can be Free or Premium), I used my personal one.
- Go to Spotify Developer Dashboard, log in and accept Developer Terms of Service.
- Create an app (in 'What are you building?' section I chose 'I don't know').
- Once you open your app, you should be able to see Client ID and Secret:
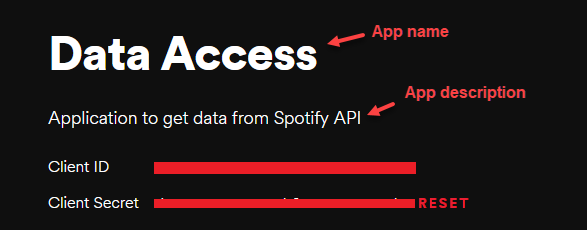
More on getting started with Spotify API you can find here.
Get token (ready-to-use macro)
Now that you have client credentials, you would need to connect to the Spotify API and get a token. To make your life easier, I built a macro, that takes the client credentials and return the token together with the time until it's active. For more on how does the macro actually work, go here.
- Download the macro from the Gallery
- Import it into the workflow

- Copy and paste your Client ID and Client Secret. Client Secret should be masked while ID visible
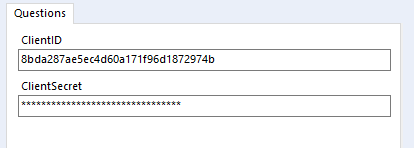
- Run the macro, it will return an Authorization field that you can use as a header in a download tool and how long the token will be active for

I recommend using cache and run so that you don't have ping the API when you're developing your workflow.
Use Spotify API
Now that you have your token, you can finally use Spotify API! Web API Reference lists different endpoints you can connect to with examples. Let's demonstrate a simple set up.
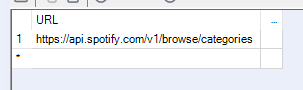
I chose Browse endpoint as it doesn't require any additional parameters. The URL to get a list of categories in Browse is
https://api.spotify.com/v1/browse/categoriesuse text input to start your workflow and name the field with the URL just URL
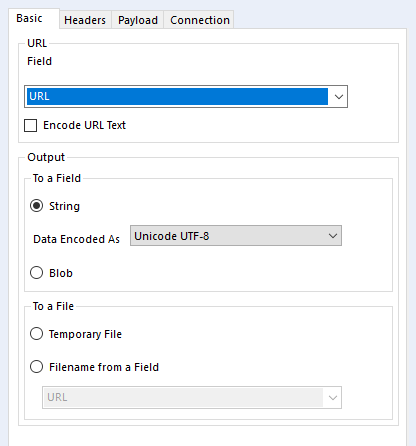
Then append the results of the Get Token macro and drag in the download tool. In its settings, make sure to choose the right field in URL selection and uncheck the Encode URL text box:
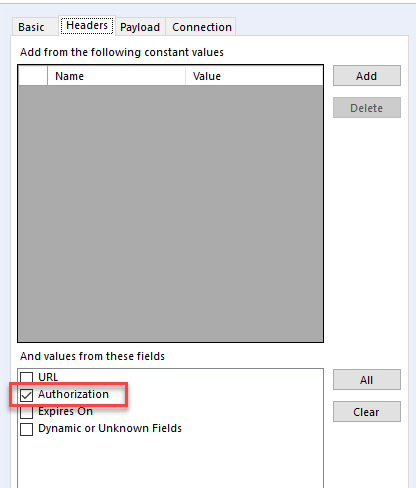
In Headers, just tick Authorization and it this situation that should do!
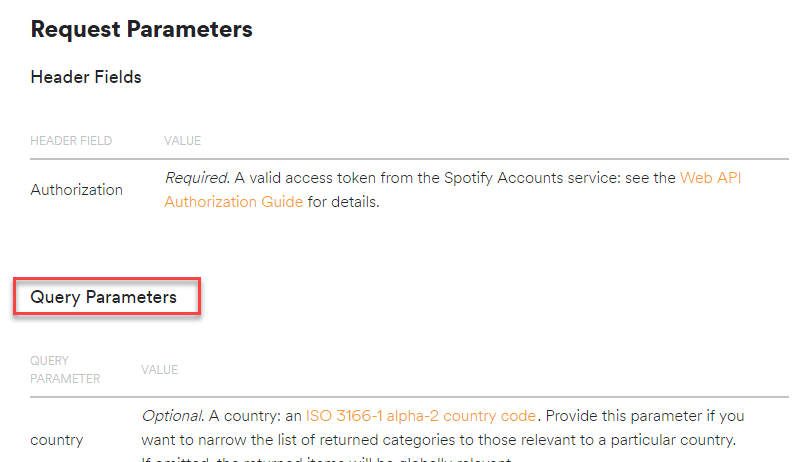
If want to pass any parameters (see below), you'll need to use the Payload tab in the download settings:
The data will be returned as JSON and will require some extra parsing (JSON Parse will save you a lot of work!). Good luck and have fun playing around with Spotify API!
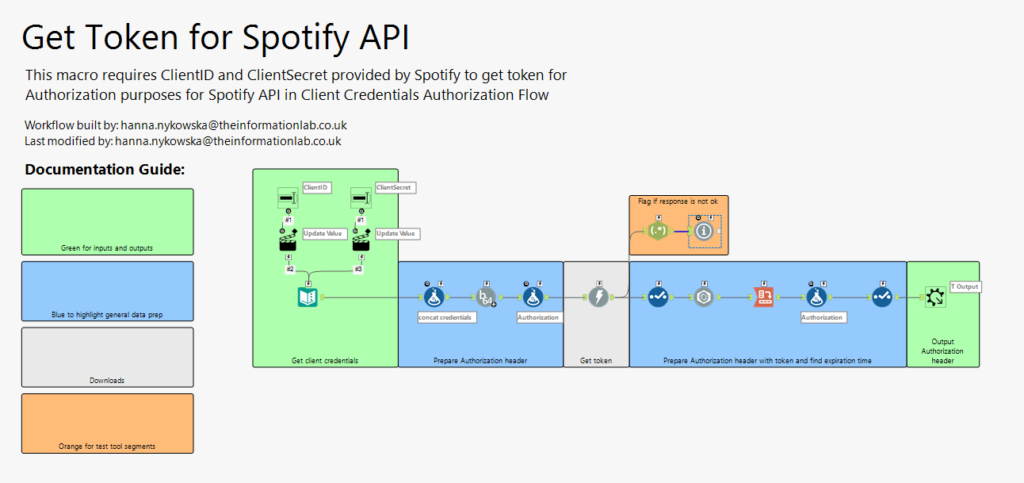
Behind the scenes: how does the Get Token macro work?
This section might be useful if you want to recreate what I did or simply understand what is required.
First I concatenate clientID + ':' + clientSecret. Then I encode that new string with a base64 encoder. I create a new Authorization field with 'Basic <encoded credentials>' inside.
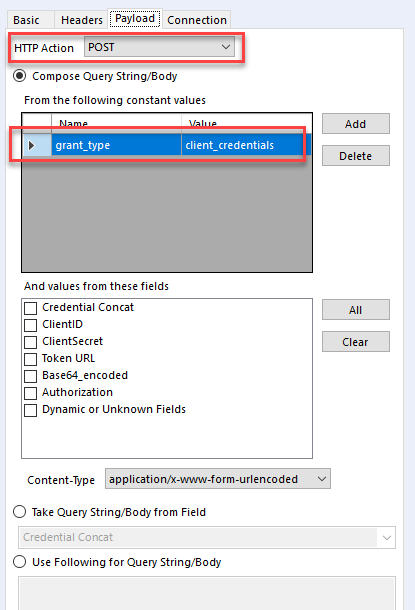
I can now connect to https://accounts.spotify.com/api/token. The Encode URL text tick box needs to be unchecked. I add Authorization header (just as described above). In Payload, I change the HTTP action to POST and add a query parameter grant_type with value client_credentials:
Then I check if the response is 200 code, which means it's OK. If it's not, it will send an error to let the user know. I'm also preparing a new Authorization field for the use with API endpoints as well as calculating when will the token expire based on the computer's time.
That's the workflow: